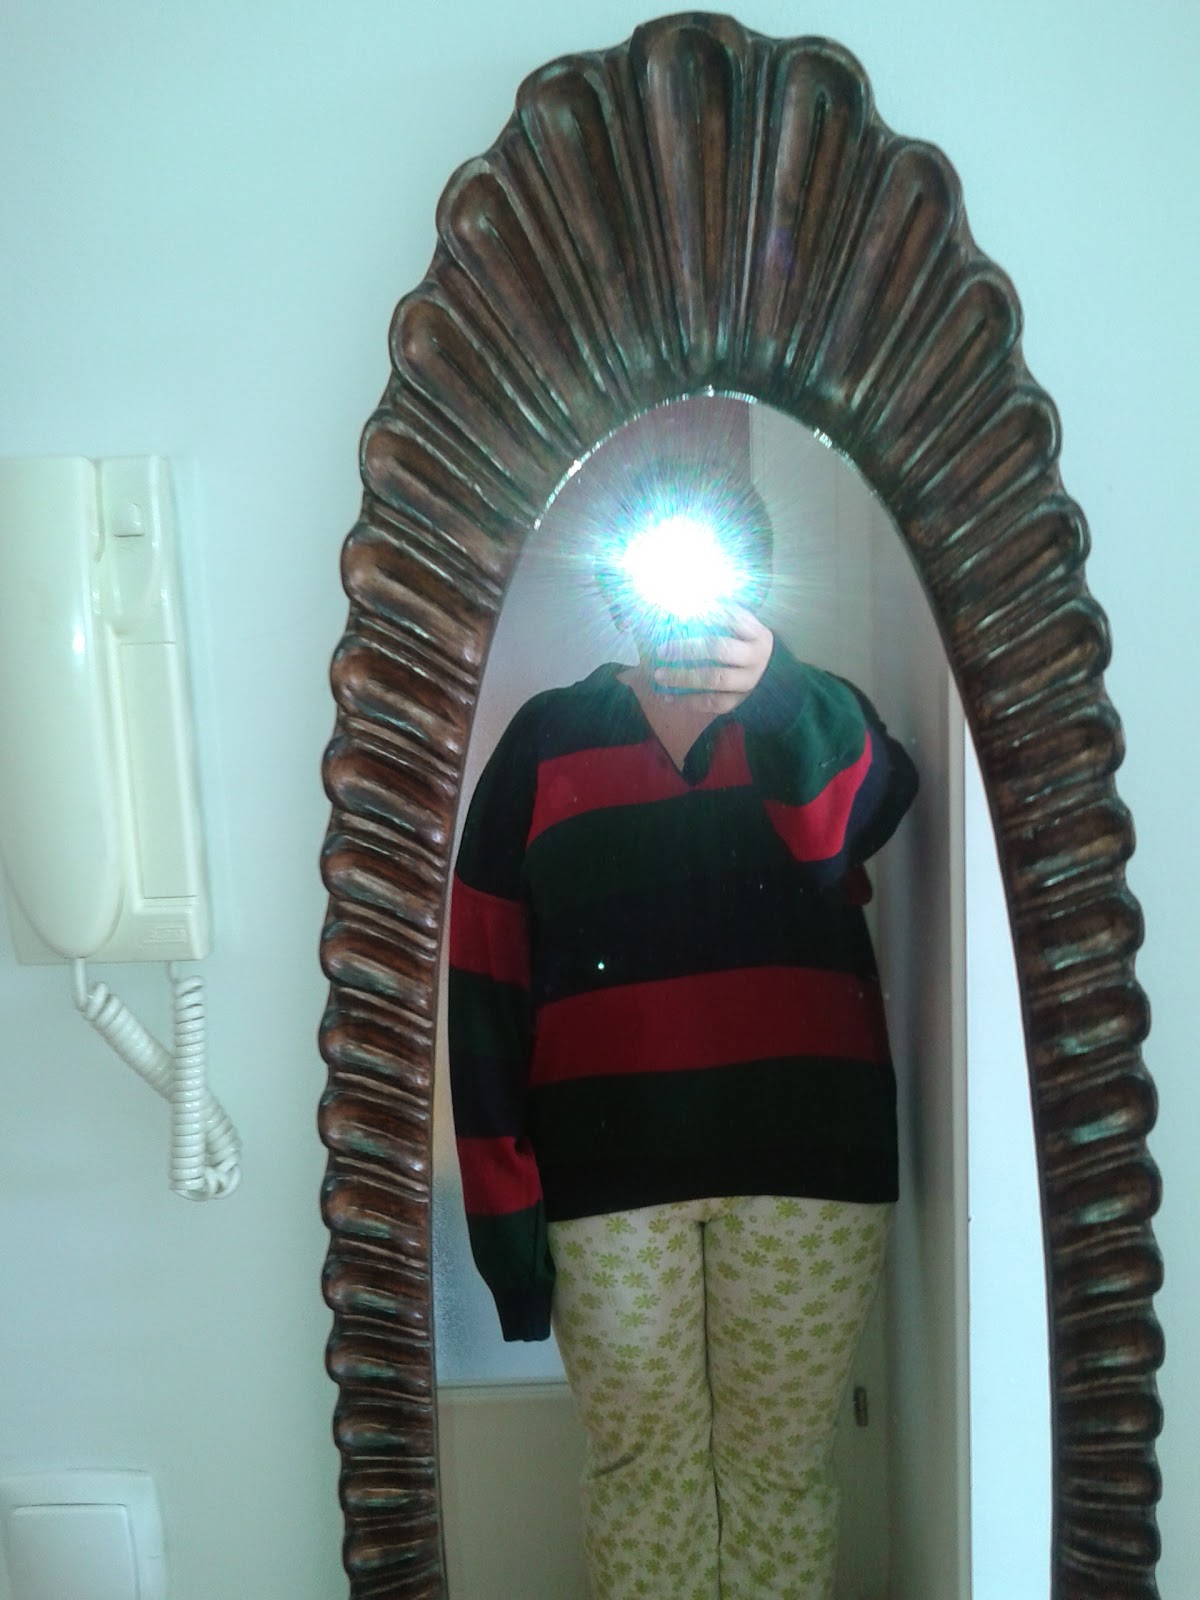
When I pried this sweater from my husbands hands after a session of persuading him he could not possibly be wearing it any longer as it is completely stretched out and abundant in slovenly stitched holes.
I really liked the sweater because of the combination of lively and formal colours. I really wanted to turn it in a winter skirt that I could wear to work. So, when I hacked the sweater at the bottom of the neckline, I realised the skirt would be too short, and that I would need to find a way to make it the proper length. As I failed to make any pictures in the chopping process, I made a drawing to compensate for it.
Once I have chopped the part of the sweater up to the neckline slit, I continued to deconstruct the remainder of it with the aim of getting rectangular pieces of fabric to elongate the skirt. I got two from sleeves (numbers 1 and 2) which I hoped would be sufficient for what I needed them, which would be okay if I did a single layer.
To give more structure to the skirt, to make it "smart" and to make sure it holds its shape well, I decided to go for double layer for elongating the skirt, so I obviously needed more fabric. The only viable pieces for the job were those marked with numbers 3 and 4.
Since all the rectangles were uneven, I have trimmed those coming from sleeves (no 1 and 2) to be the same. Next, as rectangles 3 and 4 were significantly narrower and overall smaller then 1 and 2, I have stitched them together along the sides neighbouring to the central part of the sweater (where the neckline was). Now, I had 2 equal rectangles and one fairly similar to them. Next up, I have trimmed the third rectangle to match the first two in height.
The process itself entailed using the 'iron-on paper/fabric'. I ironed an inch wide strip around the edge of the 'skirt' and completely covered the matching rectangles. Next up, I have stitched rectangles in form of the cylinder of the matching circumference as the skirt bottom / hem.
I have ironed it, pinned and hemmed. Once I was done stitching, I had to add elastic band to the waist to reinforce the skirt, so it wouldn't slip down the hips throughout the day.


No comments:
Post a Comment